Just bought a Google Home or Google Nest device and don’t know where to start? You’re not alone. I remember when I first unboxed my Google Nest Mini last year – I stared at the tiny speaker wondering how this small device would transform my entire home into a smart hub.
Setting up a Google Home device might seem overwhelming at first, especially with all the different models available like the Google Home Mini, Google Nest Hub, and various smart home accessories. But here’s the good news: the process is actually much simpler than most people think.
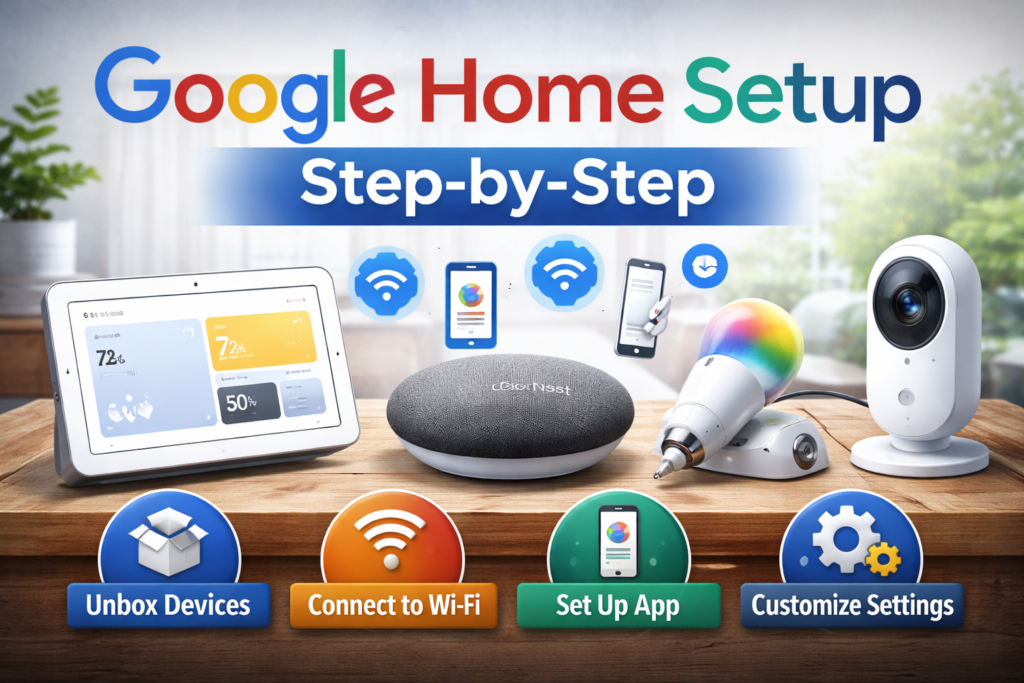
This step-by-step guide will help you set up your Google Home device in minutes. Whether you’re working with a Google Nest Mini, a full-sized Google Home speaker, or planning to connect multiple smart home devices, I’ll walk you through every single step. By the end of this guide, you’ll have your Google smart home up and running, and you’ll wonder why you waited so long to make the switch.
📦What You Need Before Google Home Setup
Before you start setting up your Google Home devices, let me save you some frustration by making sure you have everything ready. I learned this the hard way when I had to stop my setup halfway through because I forgot to check my WiFi password.
Here’s exactly what you need for any Google Home device setup:
WiFi Connection: Your Google smart home devices need a stable internet connection. Make sure you know your WiFi network name and password. The connection should be 2.4GHz or 5GHz – most modern routers support both, but some older Google Home devices work better with 2.4GHz.
Smartphone or Tablet: You’ll need either an Android device (running Android 6.0 or later) or an iPhone (iOS 12.0 or later). The setup process happens entirely through your mobile device, so make sure it’s charged and ready.
Google Account: This might seem obvious, but you’ll need an active Google account. If you don’t have one, create it before starting the setup process. This account will be linked to all your Google smart home devices and will store your preferences and settings.
Google Home App: This is the control center for all your Google Home devices. We’ll cover downloading this in detail in the next section, but having it ready beforehand speeds up the process significantly.
The setup works the same whether you’re installing a Google Nest Mini in your bedroom or setting up multiple Google Home devices throughout your house.
📱Download & Install Google Home App
The Google Home app is absolutely essential for setting up any Google Home device. Without it, your smart speaker is basically just an expensive paperweight. I’ve seen people try to set up their devices without the app first – trust me, it doesn’t work.
For Android Users:
- Open the Google Play Store on your Android device
- Search for “Google Home app” in the search bar
- Look for the app published by Google LLC (it should be the first result)
- Tap “Install” and wait for the download to complete
- Once installed, tap “Open” to launch the app
For iPhone Users:
- Open the App Store on your iOS device
- Search for “Google Home app download” or just “Google Home”
- Select the official Google Home app
- Tap “Get” to install the Google Home app
- Open the app once installation is complete
The Google Home mobile app is your command center for everything – from initial setup to daily management of your smart home. The Google Home app Android version and iOS version have identical features, so don’t worry about missing out regardless of your phone type.
After you download the Google Home app, sign in with your Google account. The app will ask for various permissions like location access and microphone access. Grant these permissions – they’re necessary for features like finding nearby devices and setting up voice commands.
One thing I appreciate about the Google Home app is how intuitive it is. Even if you’re not tech-savvy, the interface guides you through each step clearly. The app automatically searches for nearby Google devices when you’re ready to start the setup process.
Download the Google Home app from the official Google Play Store or Apple App Store to start setup.
🔧Google Home Setup Step-by-Step
Step 1 – Plug In Your Google Home Device
Let’s start with the basics. Take your Google Home device out of the box and find the power adapter. This step works the same whether you have a Google Home Mini, Google Nest Mini, Google Nest Audio, or any other model in the lineup.
Plug the power adapter into your device first, then connect it to a wall outlet. I always recommend plugging directly into the wall rather than using a power strip – it ensures the most stable power connection.
For the Google Home Mini and Google Nest Mini, you’ll see four small LED lights appear on top of the device. The lights will start in white or orange, indicating the device is starting up. This boot-up process usually takes about 30 seconds to a minute.
If you have a Google Nest Audio or larger Google Home device, you’ll see LED lights on the top as well, though the pattern might be slightly different. The key thing to listen for is the welcome message – your device will actually speak to you and say something like “Welcome to Google Home” when it’s ready for setup.
Don’t worry if the lights seem to cycle through different colors during startup. That’s completely normal. Only be concerned if no lights appear at all, which might indicate a power issue.
Step 2 – Open Google Home App
Now open the Google Home app on your phone. If you just installed it, you might need to sign in with your Google account again. The app should automatically start searching for nearby devices.
Here’s something really cool: the app uses both Bluetooth and your WiFi network to detect device automatically. You should see your Google Home device appear on the screen within 30 seconds to a minute. It’ll show up with a name like “Google Home Mini” or “Google Nest Audio” followed by some letters or numbers.
If you don’t see your device right away, don’t panic. Sometimes it takes a few minutes, especially if you have a busy WiFi network. Try refreshing the app by pulling down on the device list. You can also try moving your phone closer to the Google Home device.
The app will show a card with your device and a “Set up” button. Tap this button to begin the official Google Home setup process.
Step 3 – Connect to WiFi
This is where the Google Home setup gets interesting. The app will first connect to your Google Home device using a temporary connection. You might hear a sound from your device – that’s normal and indicates it’s communicating with your phone.
Next, you’ll see a list of available WiFi networks. Choose the correct network – this is crucial for your Google Home smart setup. Select your home WiFi network from the list.
Enter your WiFi password carefully. I can’t tell you how many times I’ve seen people struggle with this step because they mistyped their password. Double-check every character, especially if you have a complex password with special characters.
The Google Home device will then connect to your WiFi network. This process usually takes 1-2 minutes. You’ll see a progress indicator in the app, and the LED lights on your device might change colors during this process.
Once connected successfully, your device will announce that it’s connected to WiFi and ready for the next steps. This confirmation is important – if you don’t hear it, the connection might have failed and you’ll need to retry.
Step 4 – Link Google Account
Your Google Assistant devices need to know who you are to provide personalized responses. The app will prompt you to link your Google account to the device.
This step is required and gives your Google Home access to your Google services like Calendar, Gmail (for certain features), and your personal preferences. Don’t worry about privacy – you can control exactly what information Google Assistant can access through the app settings.
If you have multiple Google accounts (like a personal and work account), make sure you select the right one. Most people use their personal Google account for their home setup, but choose whatever makes sense for your situation.
The linking process happens automatically once you confirm your choice. Your device will acknowledge the account connection, usually with a voice confirmation.
Step 5 – Set Up Voice Match
Voice Match is one of my favorite features because it personalizes the experience for different family members. This feature allows your Google Home to recognize different voices and provide personalized responses.
The app will guide you through recording a few voice samples. You’ll say phrases like “Hey Google” and “OK Google” several times. Speak naturally – don’t try to project or change your voice. The system works best when you use your normal speaking voice.
If you live with other people, you can add their voices later through the same process. Each person gets their own voice profile, which means Google Assistant can provide personalized calendar information, music preferences, and more.
This step is optional, but I highly recommend it. The personalized experience is noticeably better when Voice Match is enabled.
Step 6 – Add Location & Room
Now you’ll assign your device to a specific location and room in your home. This isn’t just for organization – it’s crucial for controlling smart home devices later.
First, confirm your home address. Google uses this for location-based features like local weather, traffic updates, and nearby business information.
Next, choose which room your device is in. The app provides common options like:
- Living room
- Bedroom
- Kitchen
- Office
- Bathroom
You can also create custom room names if needed. I have rooms named “Master Suite” and “Game Room” because the default options didn’t quite fit my home layout.
Getting the room assignment right is important for smart home control. When you say “turn off the lights,” Google knows which room’s lights you’re referring to based on which device heard your command.
Step 7 – Connect Smart Devices
This is where your Google smart home really comes to life. The app will search for compatible smart devices on your network and show you options to connect them.
Common smart home Google devices you can connect include:
- Smart lights (Philips Hue, LIFX, TP-Link, etc.)
- Smart plugs and switches
- Smart thermostats
- Security cameras
- Smart locks
- Entertainment devices
The process varies slightly depending on the device type, but generally involves selecting the device from a list and following manufacturer-specific setup steps. Some devices require you to link accounts (like your Philips Hue account), while others connect directly.
Don’t worry if you don’t have smart devices yet – you can always add them later through the Google Home app. The basic Google Home functionality works perfectly without any additional smart devices.
Step 8 – Complete Setup
The final step involves testing your setup with a voice command. The app usually suggests saying “Hey Google, what can you do?” or “Hey Google, what’s the weather?”
Try the suggested command and wait for your device to respond. If everything is working correctly, you should hear a response that demonstrates Google Assistant is active and connected to the internet.
If the voice command doesn’t work, double-check that your device shows as “connected” in the Google Home app and that your WiFi connection is stable.
Congratulations! Your Google Home setup is now complete and ready to use.
🔊Setup Google Nest Devices (Mini, Hub, Audio)
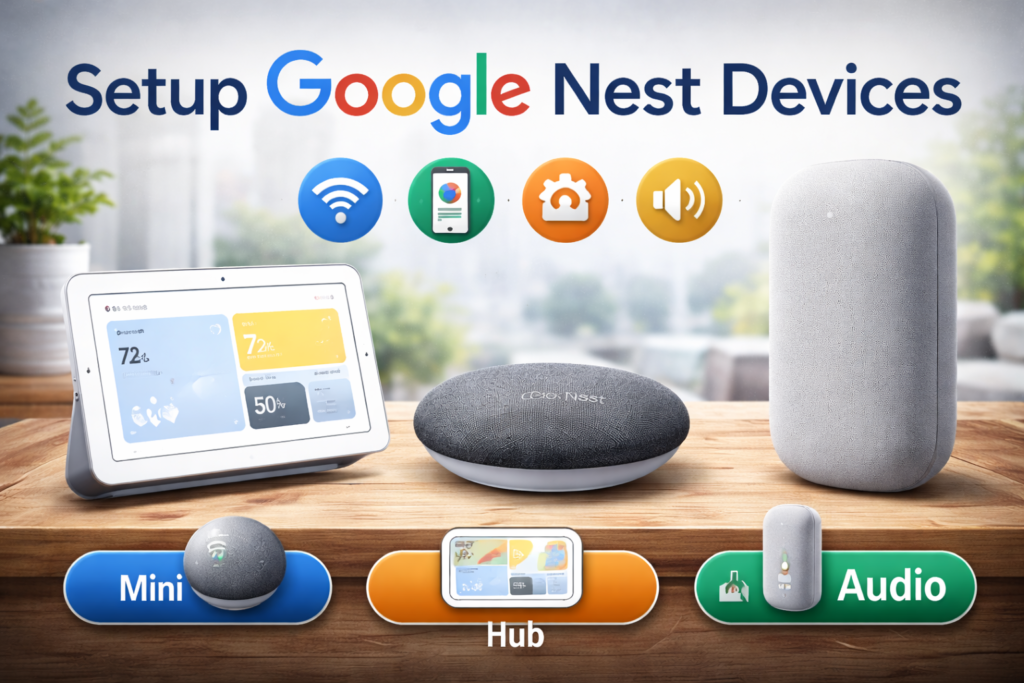
Setting up Google Nest devices follows the same basic process I outlined above, but there are some specific differences worth noting for each device type.
The Google Nest Mini is probably the most popular choice for beginners. It’s affordable, compact, and perfect for bedrooms or smaller spaces. The setup is identical to what I described above, but the LED indicators are four small dots on top of the device instead of a ring.
The Google Nest Audio offers better sound quality and has a different LED indicator system – it shows a light bar across the front when active. During setup, you’ll see this light bar change colors to indicate different status conditions. The audio setup process includes additional options for sound optimization based on your room size.
The Google Nest Hub and Google Hub are unique because they include displays. After the basic setup steps, you’ll have additional configuration options for the screen. You can choose whether to display photos from Google Photos, show your calendar, or customize the home screen with specific information widgets.
For display devices like the Nest Hub, the app will walk you through setting up photo frames, choosing clock styles, and configuring ambient light sensors. The touch screen adds extra functionality, but the voice setup process remains the same.
One tip: Google Nest devices often have newer features than older Google Home devices, so make sure your Google Home app is updated to the latest version before starting setup.
📷Setup Google Nest Cameras (Security Setup)
Setting up Google Nest cameras involves a few additional security considerations compared to smart speakers. I’ll walk you through the camera-specific setup process.
After installing the Google Home app and creating your basic home setup, you’ll add your Google Nest camera as a new device. The process starts the same way – plug in your Google Nest cam and wait for the indicator lights.
Most Google security camera models have a QR code on the back or bottom. The Google Home app will prompt you to scan this code with your phone’s camera. This QR code contains the device-specific setup information.
Next, you’ll choose the camera’s location and viewing angle. Unlike speakers, camera placement is crucial for both functionality and privacy. The app provides tips for optimal placement – generally 8-10 feet high and angled to cover the area you want to monitor.
For outdoor nest cameras, you’ll configure motion detection zones. This feature lets you specify which areas should trigger alerts. For example, you might want alerts when someone approaches your front door, but not when cars pass by on the street.
The security setup includes privacy settings that I think are really important. You can set schedules for when the camera is active, create privacy zones that won’t be recorded, and choose who can access the camera feed.
Finally, you’ll configure alert preferences. You can choose to receive notifications on your phone, via email, or both when the camera detects motion or sound.
💰Google Nest Aware Subscription Explained
Let me be honest about Nest Aware – it’s optional, but it significantly improves your Google Nest experience, especially for cameras and security devices.
The Nest Aware subscription provides cloud recording for your Google Nest subscription devices. Without it, your cameras only store footage locally for a few hours. With Nest Aware, you get 30 days of cloud storage for continuous recording.
Here’s the current pricing structure:
- Nest Aware: $6/month for up to 30 days of event video history
- Nest Aware Plus: $12/month for up to 60 days of event video history and 10 days of 24/7 video history
The benefits extend beyond just storage. Nest Aware adds intelligent alerts that can distinguish between people, animals, vehicles, and packages. This means fewer false alarms and more relevant notifications.
For smart speakers and displays, Nest Aware adds facial recognition for photos and more advanced voice recognition features. If you have multiple Google Nest products, the subscription covers all devices in your home.
Whether you need it depends on your usage. If you’re just using smart speakers for music and basic questions, Nest Aware isn’t necessary. If you’re building a comprehensive smart security system, the subscription becomes much more valuable.
Learn more about Nest Aware subscription features and pricing here.
💻Can You Use Google Home App on PC?
This is a question I get asked frequently, and the answer is a bit complicated. There’s no official Google Home app for PC that you can download and install like traditional desktop software.
However, you can access some Google Home functionality through your web browser. Google provides a web interface at home.google.com that allows you to view your devices, check status, and perform basic management tasks.
The Google Home web interface isn’t as full-featured as the mobile app. You can’t do initial device setup through the browser, and many advanced features require the mobile app. But for day-to-day monitoring and basic control, the web interface works adequately.
Some people use Android emulators on their PC to run the Google Home app PC setup, but this is complex and not officially supported. For the best experience, stick with the mobile app on your smartphone or tablet.
The reality is that Google designed the smart home experience around mobile devices, and that’s where the platform works best. Your phone is always with you, making it the most convenient way to control your smart home anyway.
🔧Common Google Home Setup Problems & Fixes
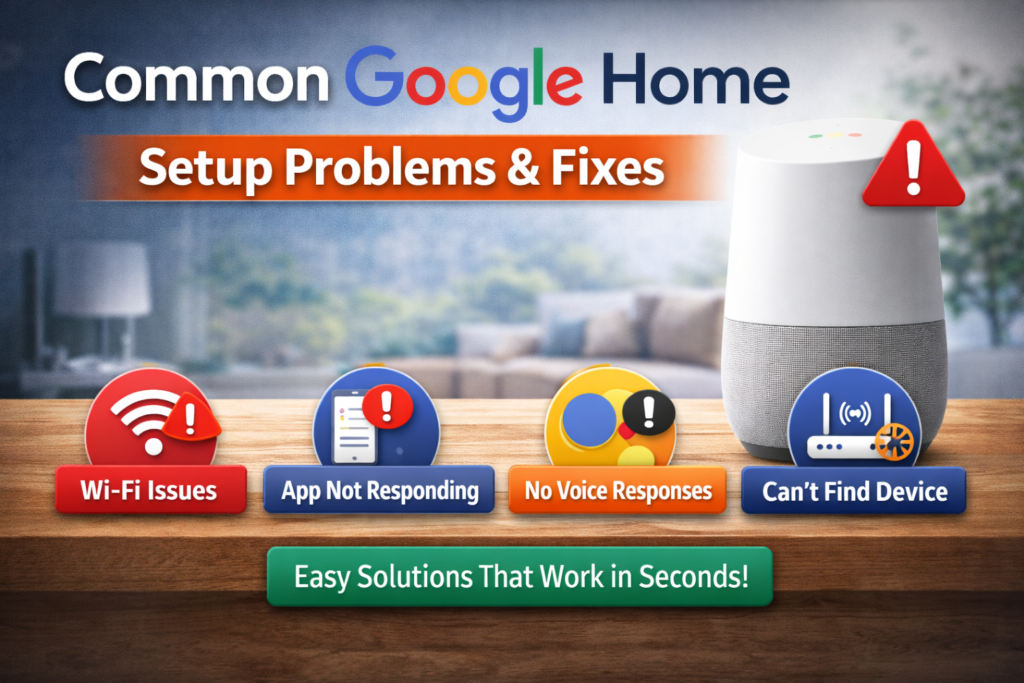
Even with the best instructions, Google Home setup doesn’t always go smoothly. Here are the most common issues I’ve encountered and how to fix them:
Device Not Detected: This is the most frustrating problem. First, make sure your Google Home device is plugged in and showing LED lights. Check that Bluetooth is enabled on your phone and that you’re within 15 feet of the device. If it still doesn’t appear, try restarting both your phone and the Google Home device.
Google Home Not Connecting to WiFi: Double-check your WiFi password – this is the culprit 90% of the time. Make sure you’re connecting to the correct network (not a guest network). Some older Google Home devices struggle with 5GHz networks, so try connecting to a 2.4GHz network if available.
App Crashes During Setup: This usually indicates an outdated app version or insufficient phone storage. Update the Google Home app to the latest version and make sure you have at least 1GB of free storage on your phone. Restart your phone before attempting setup again.
Voice Commands Not Working: Ensure that Voice Match is properly configured and that the microphone isn’t muted. Check that your Google Home device is connected to WiFi by looking for the device status in the app. Sometimes simply saying “Hey Google” louder or more clearly resolves recognition issues.
Setup Freezes at WiFi Connection: This often happens with complex WiFi passwords or networks with special security settings. Try creating a guest network with a simpler password temporarily, complete the setup, then switch to your main network through the app settings.
Most Google Home setup issues resolve with patience and basic troubleshooting. When in doubt, unplugging the device for 30 seconds and restarting the setup process often works wonders.
📊Quick Setup Checklist
| Step | Action |
|---|---|
| Install app | Download Google Home app from App Store or Play Store |
| Connect device | Plug in your Google Home device and wait for LED indicators |
| WiFi setup | Select your home network and enter password correctly |
| Voice match | Record voice samples for personalized responses |
| Add devices | Connect compatible smart home devices through the app |
🏠Best Google Home Devices for Beginners
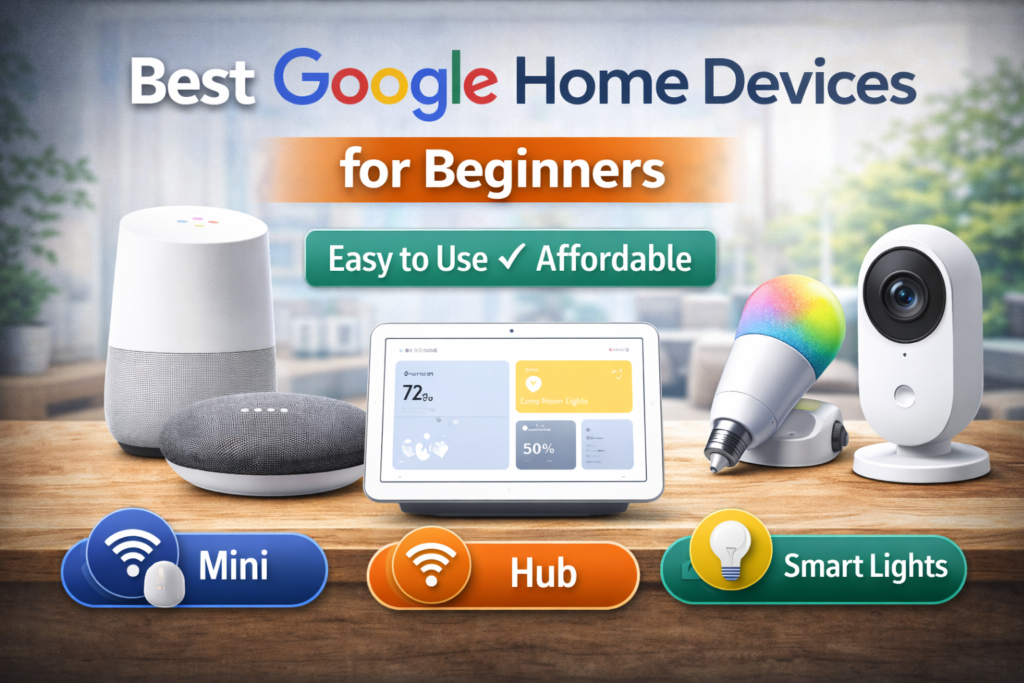
If you’re just starting your smart home journey, choosing the right Google Home products can feel overwhelming. Based on my experience and testing various devices, here are my top recommendations:
Google Nest Mini (2nd Gen): This is the perfect entry point into Google smart home. At around $50, it’s affordable and provides all the core Google Assistant functionality. The sound quality is adequate for voice responses and casual music listening. I recommend starting with 2-3 Nest Minis in different rooms.
Google Nest Hub (2nd Gen): If you want a visual interface, the Nest Hub is excellent for kitchens or bedrooms. The 7-inch display makes it easy to see weather, calendar events, and photos. The touch screen adds convenience for controlling smart devices without voice commands. It’s particularly useful for video calls and following recipe instructions.
Google Nest Audio: For music lovers, this Google smart speaker offers significantly better audio quality than the Mini. It’s larger and more expensive, but the sound improvement is noticeable. Perfect for living rooms or anywhere you frequently play music.
My recommendation is to start with one Google Nest Mini to test the ecosystem, then expand based on your needs. The beauty of Google Nest products is that they work seamlessly together – you can start small and build your smart home over time.
Explore the latest Google smart home devices on the official Google Store.
💡What Can You Do After Setup?
Now that your Google Assistant speakers are set up, let me share some of the most useful features that make these Google smart home device worth the investment.
Control Smart Lights: Say “Hey Google, dim the living room lights to 30%” or “turn off all lights.” Once you connect smart bulbs or switches, voice control becomes incredibly convenient, especially when your hands are full or you’re comfortable in bed.
Play Music from Multiple Services: Google Home works with Spotify, YouTube Music, Apple Music, and many other services. You can play specific songs, artists, genres, or even ask for music to match your mood. Multi-room audio lets you play the same music throughout your house.
Get Daily Information: Ask about weather, traffic to work, calendar events, or news updates. I use this every morning while getting ready. You can also set up routines that provide all this information with a single command like “Good morning.”
Control Home Environment: Beyond lights, you can control thermostats, fans, air purifiers, and other smart appliances. “Hey Google, set the temperature to 72 degrees” is much easier than walking to the thermostat.
Set Timers and Reminders: Perfect for cooking, workouts, or any task that needs time management. You can set multiple named timers simultaneously, like “pizza timer for 15 minutes” and “laundry timer for 45 minutes.”
The key is starting with basic commands and gradually incorporating more features into your daily routine.
❓FAQs
How to set up Google Home step by step?
Download the Google Home app, plug in your device, open the app, connect to WiFi, link your Google account, set up Voice Match, assign rooms, and connect smart devices. The entire process typically takes 10-15 minutes.
How to setup Google Home Mini?
The Google Home Mini follows the same setup process as other Google Home devices. Plug it in, use the Google Home app to detect the device, connect to WiFi, and complete the voice setup. The Mini has four LED dots on top to indicate status.
Do I need Google Home app for setup?
Yes, the Google Home app is absolutely required for initial setup. You cannot set up any Google Home device without the mobile app. The app handles device detection, WiFi configuration, and account linking.
Can I use Google Home without WiFi?
No, Google Home devices require a constant internet connection to function. All voice processing happens in the cloud, so WiFi is essential for basic functionality like answering questions, playing music, or controlling smart devices.
What is Nest Aware subscription?
Nest Aware is Google’s optional cloud storage service for Nest cameras and other devices. It provides 30-60 days of video storage, intelligent alerts, and advanced features like facial recognition. Plans start at $6/month.
Can I control Google Home from multiple phones?
Yes, anyone in your household can control Google Home devices by installing the Google Home app and being invited to your home in the app. Each person can have their own voice profile and personalized settings.
🔗Related Articles
- Alexa vs Google Assistant: Which Smart Speaker is Right for You?
- Best Smart Speakers for Music Lovers: Complete 2026 Buying Guide
- Amazon Alexa Not Responding? 12 Proven Fixes That Work Instantly
- Google Nest Mini (2nd Gen) Review – Best Budget Smart Speaker? (2026)
- Best Smart Speakers for Small Apartments (2026 USA Guide)
✅Conclusion
Setting up your Google Home device doesn’t have to be complicated. With the right steps and a little patience, you’ll have your smart home running smoothly in just a few minutes. The key is following each step carefully and making sure you have everything ready before you start.
I’ve found that Google Home works best when you gradually expand your smart home setup. Start with the basic device, get comfortable with voice commands, then slowly add smart lights, plugs, and other devices as you discover what works for your lifestyle.
The investment in time for setup pays off quickly when you experience the convenience of controlling your home with simple voice commands. From turning off lights without getting out of bed to getting weather updates while making breakfast, Google Home genuinely makes daily routines easier.
Start your smart home journey today with Google Home – you’ll wonder how you managed without it.